
Guides / Barcode scanning
Barcode scanning at the duka counter
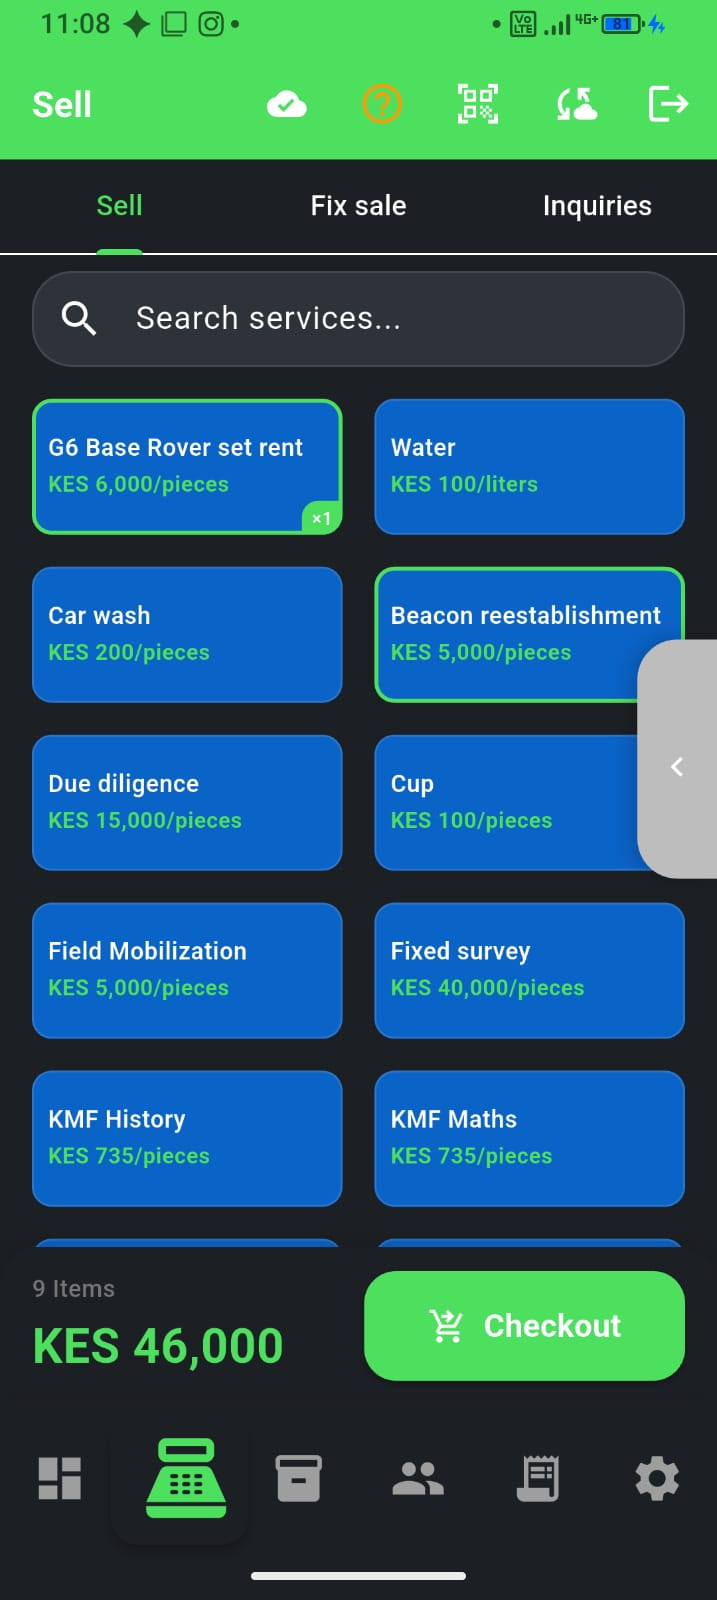
During rush hour, searching by name slows the queue. Barcodes on bread, soda, and packaged goods let you ring the right item in one scan—with the price you set, not guesswork.
When scanning helps most
- High-volume packaged goods with standard barcodes
- Shops where cashiers are new or prices change often
- Counters with long queues at lunch and evening peak
- Reducing “wrong item, wrong price” disputes
Setup in three steps
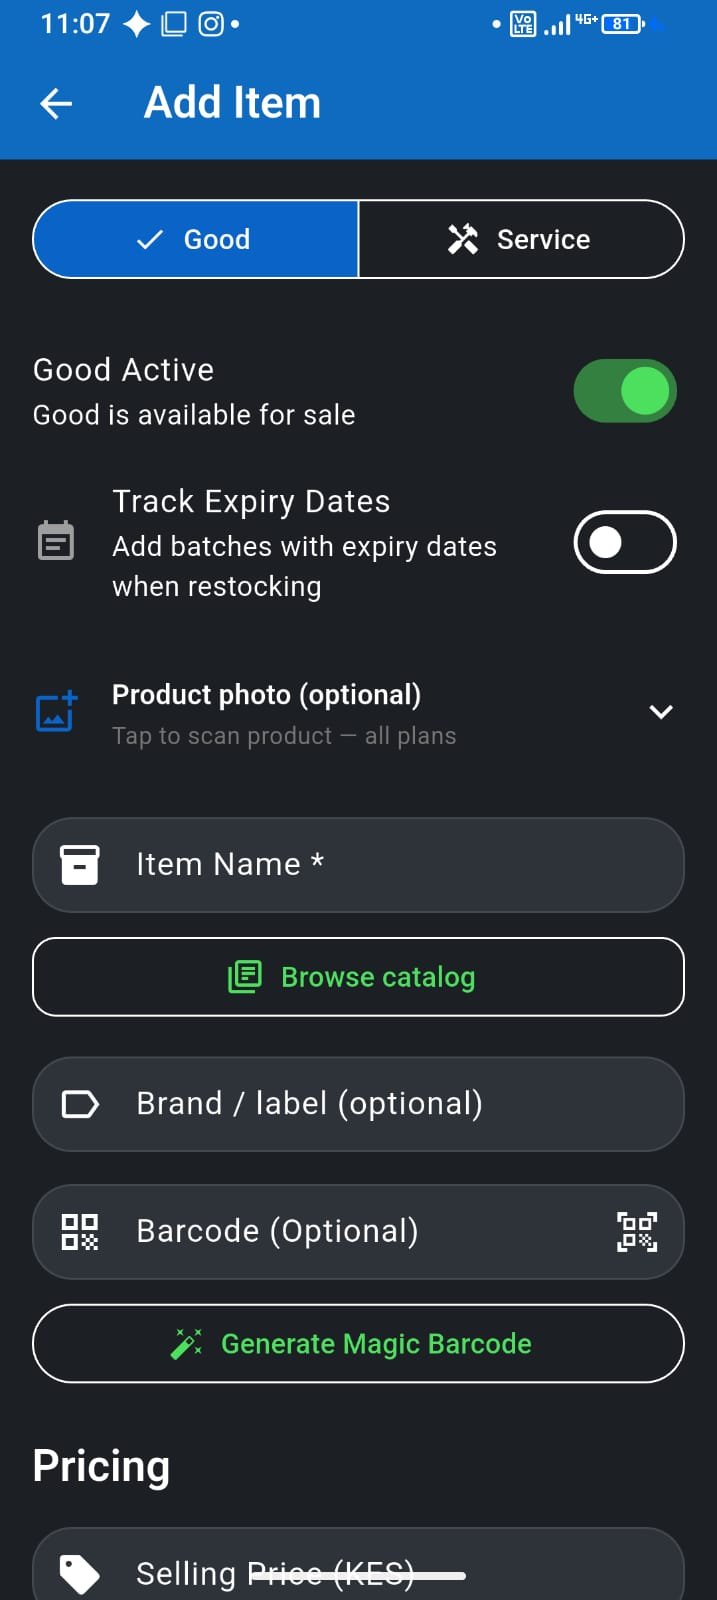
- Add items in inventory with the barcode printed on the package (see our inventory guide)
- At Sell, tap the scanner icon and point at the barcode
- Adjust quantity if needed, then checkout as usual
Plan requirement
Barcode scanning is available on Pay As You Go, Team, and Desktop plans—not on the Free plan. If you scan daily, upgrading usually pays for itself in time saved. Compare tiers in our pricing guide.
Who this is for
Hardware shops and busy retail counters with packaged SKUs—scan the fittings, tap the loose items. See F-Biz for hardware stores for search-and-scan workflows at peak hour.
Loose goods still work
Tomatoes, bulk sugar, and loose hardware stay on the grid or custom line items—scanning is for packaged SKUs. Most dukas use both: scan the Coke, tap the onion.